Showing posts with label sculpture. Show all posts

Friday, September 30, 2011

Merry go round - Write a simple tutorial - "Quick bird sculpture"

It's the last Friday of the month, so join us on our merry go round for a quick spin.  The merry go round is where a group of 11 artists/craftwomen link together around the world and tell you a little about their art and craft, through blogging on the same topic.


This month's topic is "Write a simple tutorial".  So here is mine: "Using plaster wrap to create a bird sculpture".

I first came across plaster wrap cloth at the beginning of this year when I was in Mexico in a class for encaustics....then more recently in another class. It's a very simple, and cheap media for whimsical sculptures. And quick to work with too.  The example here took me about 30 minutes to make.

Plaster wrap, is also called "rigid wrap" and a few other similar names. You can find it in the sculpture and clay area of craft stores.  It is like the product they used to make casts from in emergency rooms, if you broke your arm or leg. 

Here is what you'll need to make your own plaster wrap cloth sculpture:
  • 1 packet of plaster wrap cloth
  • Water
  • Aluminum foil
  • Masking tape
  • Scissors -  not your best
  • Paper towel
  • Acrylic paints
  • Dowels or wire - optional

    1. The first step is to create the basic shape of the sculpture using aluminum foil.  Squidge it into the general shape and if you need to add two parts together, for example, a head to a body, secure these with masking tape. The aluminum foil can be made into little flat pieces too for ears or wings etc and secured to the main part of the sculpture with masking tape.


    You can also use cardboard at this stage for some parts of the structure, again adding them to the foil with the masking tape.
      2. Now wrap the whole structure in masking tape, to keep the structure all together and provide a base for the plaster wrap


      3. Add any additions at this stage for hanging or supporting, such as dowels on the base for it to stand up, or wires to hang, or wires for feet


      4. Cut up the plaster wrap into small strips. The one I used is approx 4 inches wide and I cut it into approx. 1 cm strips.


      5. Quickly dip a strip of plaster wrap into the water in the cup and as you draw it out, drain it along the edge so some of the water comes off.


      6. Now apply the strip onto the sculpture base, pressing it into place.  Repeat with more strips, each overlapping on the sculpture.  You want to get between 1 and 2 strips thick all over the sculpture.


      You can cut the strips up into smaller sizes too, to attach to awkward shapes and get in small gaps. If you want plaster wrap on any of the dowels or other attachments, wrap those too.


      7. You have a choice now. If you leave this as it is, you will end up with a sculpture with texture to it that may by just the style you want.  If you want something smoother, go over the sculpture with a damp finger, rubbing each area so the holes in the cloth fill in with plaster.  This will give a smoother end product. The first photo below shows the area under the wing un-rubbed and the second photo shows it rubbed in, for a smoother finish.


      8.  Pat off the excess moisture on the wrap using a paper towel.


      9.  Leave to dry in the sun.  It'll take a  couple of hours. You can also put it on a warming plate if the sun isn't shining.  It'll dry hard and tough.


      10. Paint as you wish in acrylic paints, bend the wires, drill it, etc and enjoy your quick and easy sculpture!  I'll paint mine sometime during the coming week and show you the final sculpture then.

      *** LATEST NEWS 10/12/11 - I ended up finishing him off in tissue paper instead of paint. You can my blog post about it here and here is his photo:

      SOAR

      Here are a couple of photos of another bird I did and painted.  What this birdie is sat on, isn't finished yet, but it gives you an idea.


        Hope you'll give it a go - and if you do, please let me know!

        To find out what tutorial the other members of the merry go round have done this week,  click on the links below:

        Samantha at Vintage is for lovers - http://www.vintageisforlovers.com/
        Jen at Painted Fish Studio - http://paintedfishstudio.com/
        Bethany at Dirksen Dabbles - http://www.dirksendabbles.com/
        Laura at Blue Terracotta -  http://blueterracotta.com/
        Monika at Red2White - http://red2white.wordpress.com/
        Mitsy at ArtMind - http://artmind-etcetera.blogspot.com
        Kim at Vilt a la Kim - http://viltalakim.com/blog/
        Sara at Crafts of Texture - http://sarastexturecrafts.blogspot.com
        Mariana at Florcita - http://florcita.eu/wordpress/
        Agathe at Le Bar du Vent - http://lebarduvent.blogspot.com
        Ruth at Birdland Creations - http://insidetheartisan.blogspot.com

        Or else you can click on the blog hop below.  If you are a merry go round participant, please add your link if it's not already included. You can then copy the code and put it on your blog post too.

        Thursday, January 27, 2011

        Work in progress

        Phew! I've taken on a tricky project.  I'll tell you more later but right now, here is part of the work in progress!  It's life size.  More later if I actually make more progress!!!

        Thursday, January 6, 2011

        My first ceramics sculpture class

        As I said in my New Year post, I want to try lots of new things this year and be more experimental. To that end, this week I've tried my first ceramic sculpture class!

        Not content with starting with some easy, we went straight to the human head and face!!!


        It was so much fun. The teacher Rita was a delight and I loved getting my hands into that thick clay!! It was also nice to know that the clay left on my hands wasn't silver and could be washed away without another thought!!


        I'll be going back for a few more classes to finish this lady off and who knows what elaborate things she'll end up with. I'll take photos and show you her progress - whether good or bad!

        And yes, the little support under her chin is only while she dries! Similarly - she won't always have a pole sticking out of the top of her head - but you get the impression!!!

        Tuesday, December 14, 2010

        Pastures new

        I'm heading off to Mexico tomorrow - for 6 weeks! I know - it does seem like a long time. But it's going to be busy.

        We will be in San Miguel de Allende for that time - up in the mountains in a colonial town.  For most of the time, we will have family joining us. John's sons with their girlfriends will come for Xmas and New Year and then my parents will join us at the beginning of January.


        In between all that, I plan to take some classes. I'm thinking - but this may change - of trying clay/ceramic sculpture! Yes, being able to sculpture things larger than an inch tall may actually be quite fun! I also have some new knitting patterns too...so who knows what will come about...and also some aluminum!


        There are lot of classes happening in San Miguel so it's a time to learn, explore and play too!

        While there is a little trepidation about us being gone for so long - we are also excited.  A friend is going to stay here and look after Harold for us so we don't have to worry about that.


        I am taking a few silver birdies with me so will keep my stores open but limited and just see how it all goes!

        I'll keep blogging and let you know what fun things I'm trying. I hope you'll keep reading.


        I made the cuff shown in the photos here as a commission for a wonderful customer in France.  Yes- she requested purples and pinks!!! I'm afraid the photos look more blue than purple - why is it that purple is such a difficult color to photograph?

        Friday, October 29, 2010

        Merry Go Round - Get out of your comfort zone and try something new

        It''s time for another ride on the merry-go-round! Jump on and join a group of 8 artists/crafts-women as they link around the world and tell you a little about their lives in art and craft.

        This month's topic is : Get out of your comfort zone and try something new

        It seems that I could answer this question nearly every week!  With my jewelry this year, I've been out of my comfort zone quite a lot both with learning the colored anodized aluminum techniques and with  the Master Muse challenges.

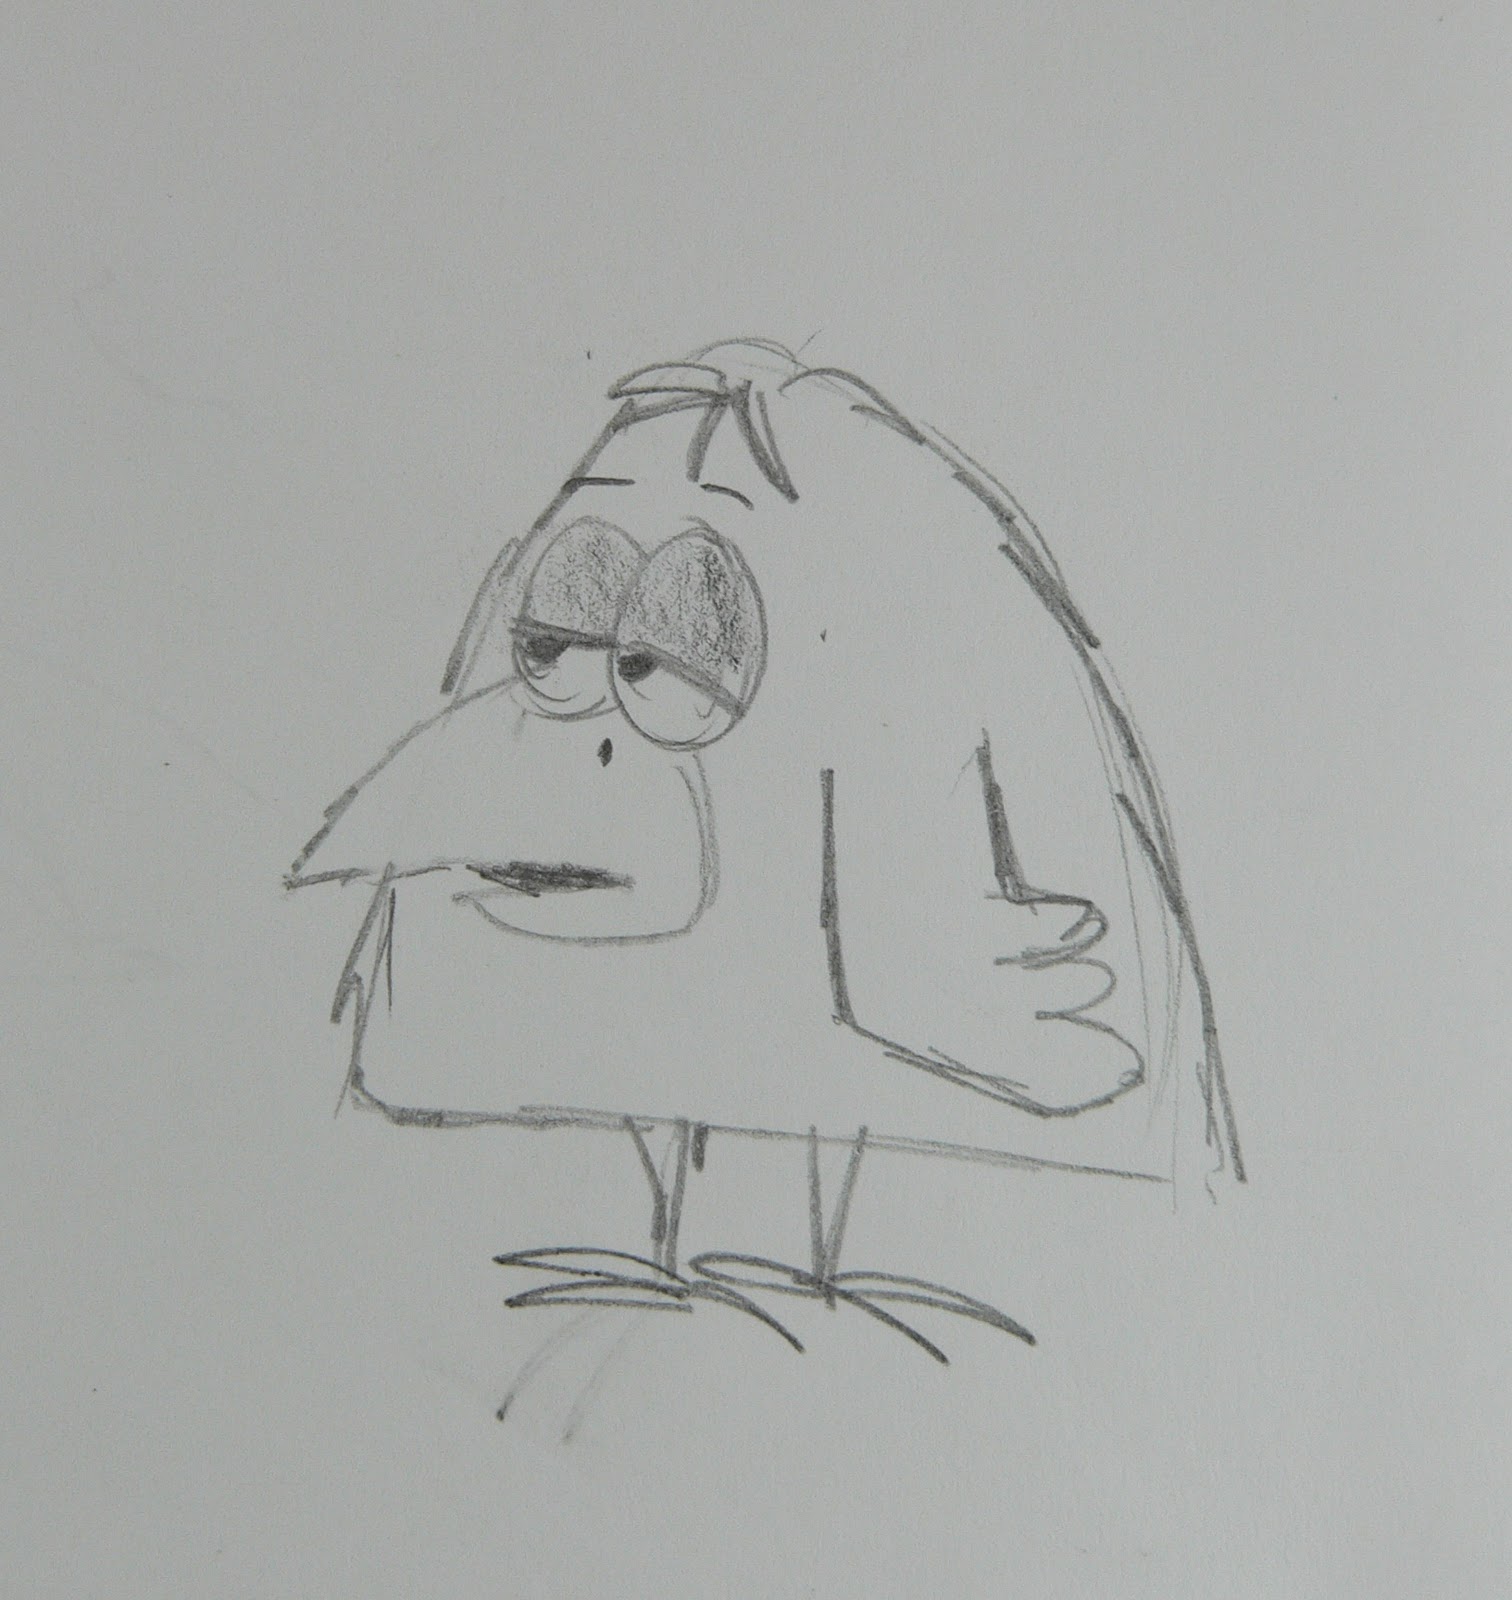
        But I've been COMPLETELY out of my comfort zone starting cartooning classes! At school etc, I always studied the sciences - and was even told I couldn't study art.  That was all very useful when I worked as a scientist for many years - but now it doesn't really help me much!  I've never learned to draw and have absolutely no natural talent for it.  I just can't draw. More recently, this has been a frustration ( and embarrassment ) for me.  But the idea of learning to draw traditionally hasn't really appealed to me, so instead, a few weeks ago I decided to try a cartooning class.

        And my conclusion is that cartooning would be a lot easier if I knew how to draw!!!  I have found myself being very uncomfortable.  I had no idea how to start.  So I began by trying to use my jewelry sculpted characters to help me to draw, and thus my first drawings began with Humphrey and Trisha shaped birds.  You can see my attempts here:


        Then I needed to give them better expressions....but how do beaks work? how does a bird smile?


        My teacher suggested I look at making the wings more feather and fingerlike:


        Then I was encouraged to try other bird shapes:


        And then other animals:


        And then I scanned in one of my drawings into the computer and colored it in:


        What I like best about the class is how my drawings have now influenced my  bird sculptured jewelry.  Here is a bronze bird where I added eyebrows and eyelids for more expression:

        And here is another bronze bird with more feather and finger-like wings


        And here is a much more expressive and animated bird - Jump for Joy!


        When I started the class, I didn't have a clear idea of why I wanted to do it.  I don't want to be a cartoonist or illustrator...but I just felt I should explore it.  As you can see, drawing is a real challenge for me and most of my drawings look like a young child did them. 

        But I love the way that I used my jewelry to initially help me start drawing and now my "drawing" is helping my jewelry.  What a nice circle.

        I still feel very uncomfortable drawing - and showing you it here - but at least I'm trying.  It's also giving me confidence to try on aluminum too and create a new range of doodled jewelry:

        So I don't know if I'll ever feel comfortable drawing - but I do think we all need to stretch ourselves and this is definitely a stretch for me.  And you never know how learning one thing will affect other things in your life!

        Go on  - try something new this week! 


        If you need more inspiration, click on the links below and see how the other merry go rounders have been uncomfortable!!  We live in all different places around the world, so time differences may impact when we all get our blog post up.


        Kim at Vilt a la Kim - http://viltalakim.blogspot.com
        Sara at Crafts of Texture - http://sarastexturecrafts.blogspot.com  
        Fabienne at Easterya Jewellery Creations - http://easterya.blogspot.com
        Mariana at Florcita - http://www.florcita.eu/
        Agathe at Le Bar du Vent - http://lebarduvent.blogspot.com
        Lily at Lily Pang Art and Design - http://lilypangart.blogspot.com
        Mitsy at ArtMind - unable to join in this month - http://artmind-etcetera.blogspot.com

        Thursday, October 1, 2009

        The Love Boat - cocktail ring


        I was recently asked to use my love boat necklace design and make a love boat ring. I finished it today!


        The boat is 3/4 long - so imagine the size of those two little people sat inside!


        The person who commissioned the piece is married to a very keen fisherman, so she asked if it was possible to add a fishing rod to the boat too. So on one side, you can see a little fishing rod, and it was good day - so there is a fish on the end of the rod. Yes, you have to look carefully, as it's quite small!


        I loved making it. Two little people, sharing their love as they sail away in their boat (with the advantage that they won't get hungry as they have a fish to eat!).


        What do you think? My ring ideas are a buzzin'......