Showing posts with label casting. Show all posts

Tuesday, May 31, 2011

Visit to a bronze foundry - Lost Wax Casting Method

Last week we went to visit a foundry in the Cotswolds area. It's called Pangolin, named after an African anteater!  We had a fascinating day and were amazed to see all the work involved in creating their massive bronze sculptures.  Our friends who were staying with us in Cheltenham had also been with us in San Miguel de Allende earlier in the year and they, like me, had tried their hand at  wax modelling for bronze casting, so it was especially interesting to see all the phases that our sculptures had gone through.

The pangolin foundry uses both the lost wax method and also sand casting, depending on the piece.

The lost wax method dates back at least 6,000 years and the technique has not changed very much.

1. The artist first creates his sculpture using wax, clay or some other media.

2.  A mold is then made of the original sculpture.  An outer rigid mold is made from plaster or clay and an inner flexible mold is made from rubber.  Molds can be two or three parts, depending on the overhangs and include shims (wedges or tapers) so the pieces can be put back together accurately.

Clay outer mold. The wedges are the shims

Outer rigid brown/white mold with pink rubber mold

 3. A wax cast is then made by painting molten wax into the rubber mold.  Once a thin layer has been painted on, wax is poured in and out of the mold to create a thickness of 1/8" - 1/4" of wax over the whole rubber mold.

Wax in the rubber and plaster mold

4. When the wax has cooled and set, it is carefully removed from the rubber mold. A system of wax rods (runners) are then added to the wax.  These will allow the bronze/silver/gold to run into the sculpture.  Small rods (risers) are also added to allow air to escape as the metal runs in.


Refining the wax models and adding risers and runners

5. The wax model is then encased in another mold able to withstand high temperatures, so that the wax can be melted out.  This mold is made from grog - a crushed, fired clay mixed with plaster.  The grog sets quickly and a hard block is formed around the wax.  This same mixture is also poured inside the wax to form the core, as the final sculpture will be hollow.


6. The finished block is then placed upside down in a kiln and heated upto 700 degrees C. This melts the wax out of the mold.

The kiln

7. After the mold cool, they are turned the right way up and filled with molten bronze. The metal fills all the space left by the melted wax and the sculpture, including the runners and risers.

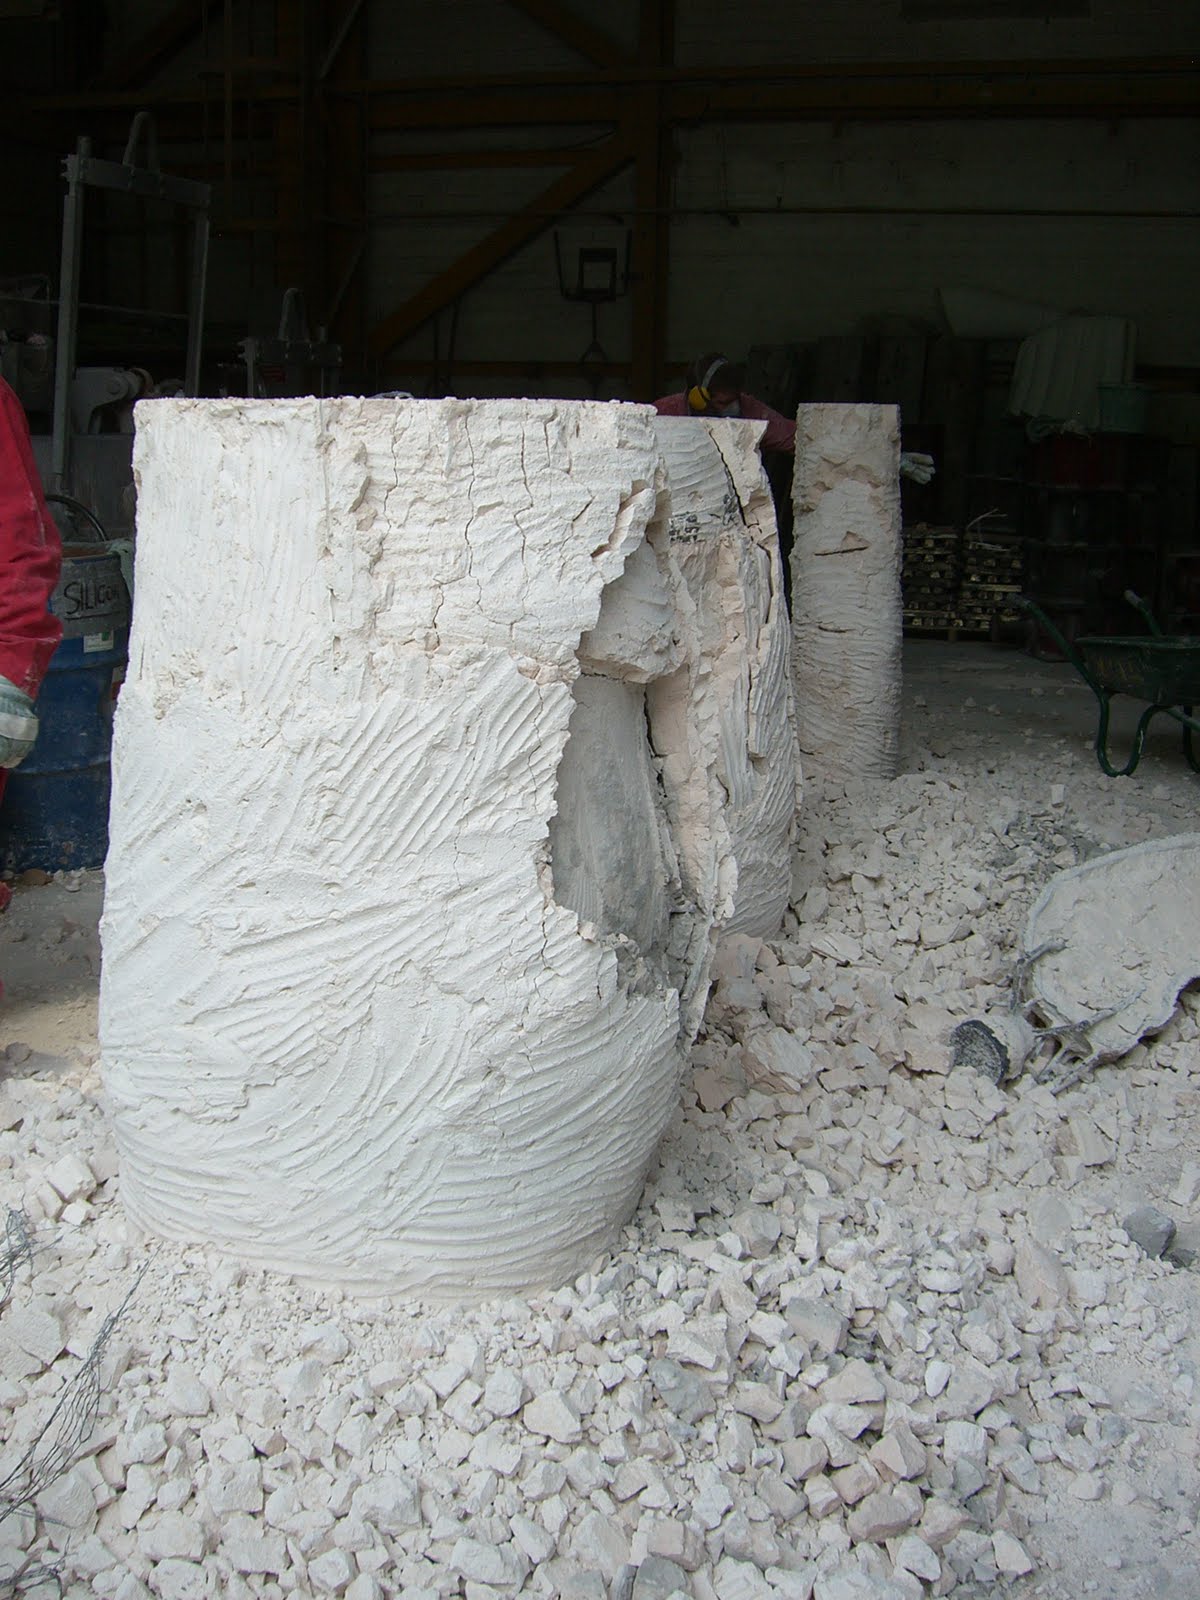
8. Once the metal cools, the mould is broken open and the raw cast sculpture is revealed.  Cracks are filled with bronze, and the risers and runners are removed.


9. The final process is then patination and a large range of colors are available.

I'll show you a little of the sand casting process on Thursday and also some final pieces...but here is one of my favorites for now:

Dodo by Nick Bibby

Monday, December 15, 2008

Presents and casting

Haven't been showing many new things on the blog lately - sorry for that. The reason is that I've been busy making presents for people - so can't show them until after Christmas! Had to ship them to Santa in plenty of time....

I also had a request this week to quote on making 200 charms! Yes, it was just earlier this month I was talking about moving into more commission charm work - and here is this request! So I've been figuring out how I can do this - and do I want to do this! I've spent the week learning alot about casting.
I tried casting once before on Little Bo Peep and it didn't come out well. There was a lot of detail on the piece, as you can see in the photos, but the cast pieces weren't as good and seemed to lose their form...... I think because the original piece was hollow......and I didn't get much feedback/advice from the casters. However some other metal clay artists gave me names of casters they had used.
It's an interesting process. I would make one master version of the charm and finish it fully. Then send it to the caster who makes a mold of it and then creates however many copies of it. Different casters then do differing amounts of finishing work for you - but I think with 200 pieces, I'd want them finished! I can't imagine polishing 200 tiny charms myself! That is not why I like making jewelry!!!

Anyhow - I have a better handle on it and feel more comfortable this time. So we'll see how this progresses. Even if I don't do this project, I spoke to such a helpful guy at a casting company not far away, that I think I'll try something with him....maybe get one of my pieces cast in gold for myself?????

Hope you are all dealing with the Christmas chaos and finding time for fun, family and friendship.