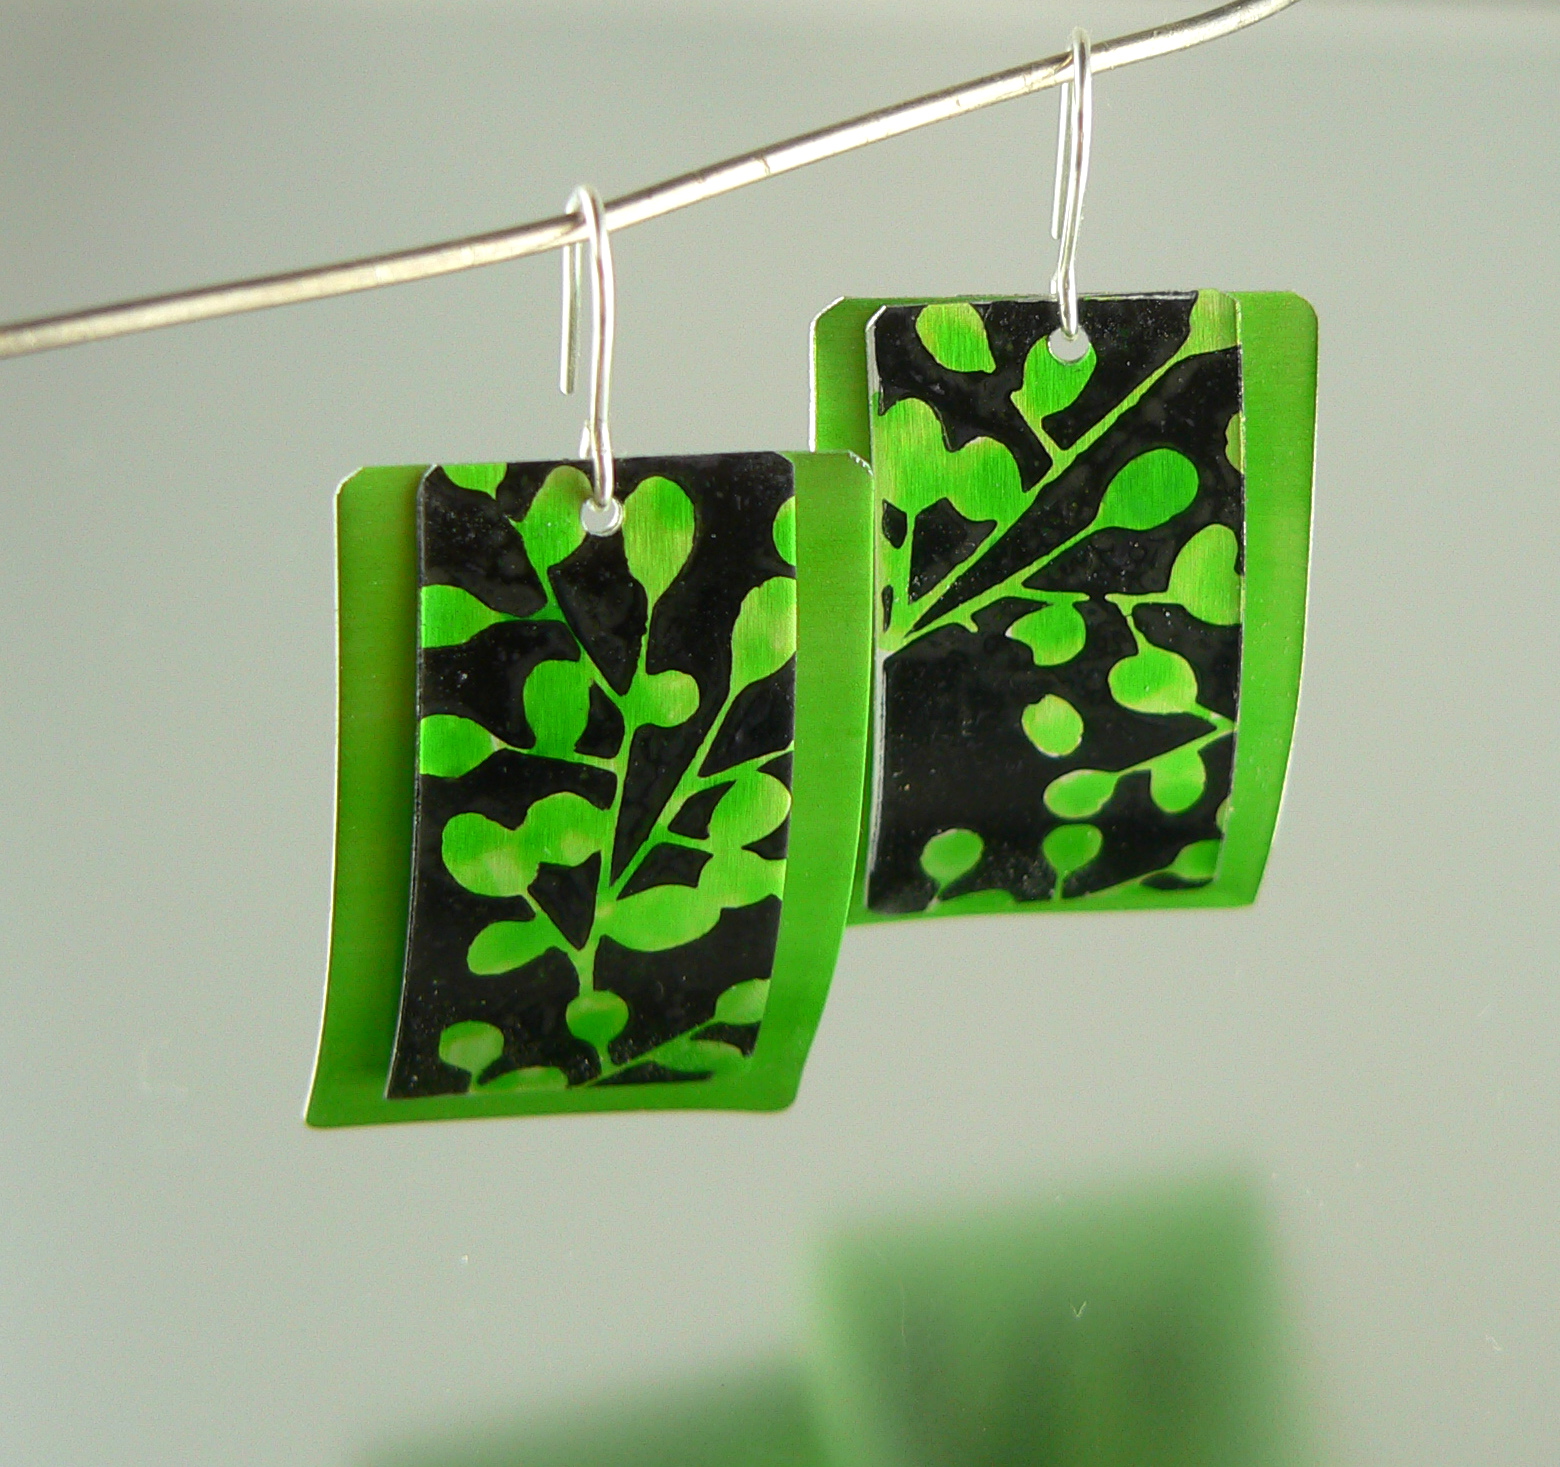
This month's topic is a blog list of our 5 favorite tools! I decided to focus on my favorite tools for metal clay. Here are the five - in the order of when I use them in my creations, plus links to where you can buy them:

- The clay shaper
 I have a few different shaped clay shapers and in fact have just ordered another couple as after a while they do wear down a little and get more flimsy. Anyhow, I use the clay shapers for squidging clay into little gaps. I'm sure the manufacturers don't use the word 'squidge' in their description - but it is a wonderful tool for that. For example, if I've attached two pieces of clay together and it's dried but there is a little gap - out comes the clay shaper, grabs a bit of clay and squidges it in the gap! Perfect! It also smoothes out clay, and is great for adding little bits of clay to a piece.
- The needle tool
 The needle tool is a perfect tool for lots of things. Like the clay shaper, it can be used to squidge clay into very tight spots - but I think I use it more often for making eyes and other little accents on my pieces. It is a sharp point, and makes a nice little eye - for example on my bluebirds. Also, when making hinges, you can put the little tubes on the needle point tool to dry.... when joining two pieces, you can rough up the surface to get a better join by marking with the needle tool.... when bits of clay get stuck in cutters, you can poke them out with this tool so it's great for clean up too! In fact, I find it on my finishing bench quite a lot too... A versatile little thing!

A couple of other tools that I couldn't live without are my kiln, of course, for firing my metal clay, and my rotary tool for numerous finishing/sanding tasks that it does. Both are used hard and I had to give them a mention in case they took offense at being omitted and decided to stop working in protest - but they seem more like "power tools" so would go at the top of my top 5 power tool list instead!
I hope you check out what the other in the merry go round have for their top 5 tools by clicking on the links or blog hop below. We all live in different places around the world, so time differences may impact when we all get our blog post up.
Samantha at Vintage is for lovers - http://www.vintageisforlovers.com/
Jen at Painted Fish Studio - http://paintedfishstudio.com/
Bethany at Dirksen Dabbles - http://www.dirksendabbles.com/
Laura at Blue Terracotta - http://blueterracotta.com/
Monika at Red2White - http://red2white.wordpress.com/
Mitsy at ArtMind - http://artmind-etcetera.blogspot.com
Kim at Vilt a la Kim - http://viltalakim.com/blog/
Sara at Crafts of Texture - http://sarastexturecrafts.blogspot.com
Mariana at Florcita - http://florcita.eu/wordpress/
Agathe at Le Bar du Vent - http://lebarduvent.blogspot.com
Ruth at Birdland Creations - http://insidetheartisan.blogspot.com
Or else you can click on the blog hop below. If you are a merry go round participant, please add your link if it's not already included. You can then copy the code and put it on your blog post too.


 Posts
Posts